How a car gets wrapped: the full process
Wrapping a car looks like magic in timelapse videos, but it's a careful, multi-stage process that takes professionals days. Here's exactly what happens from the moment a car rolls into the bay to when it drives out transformed.
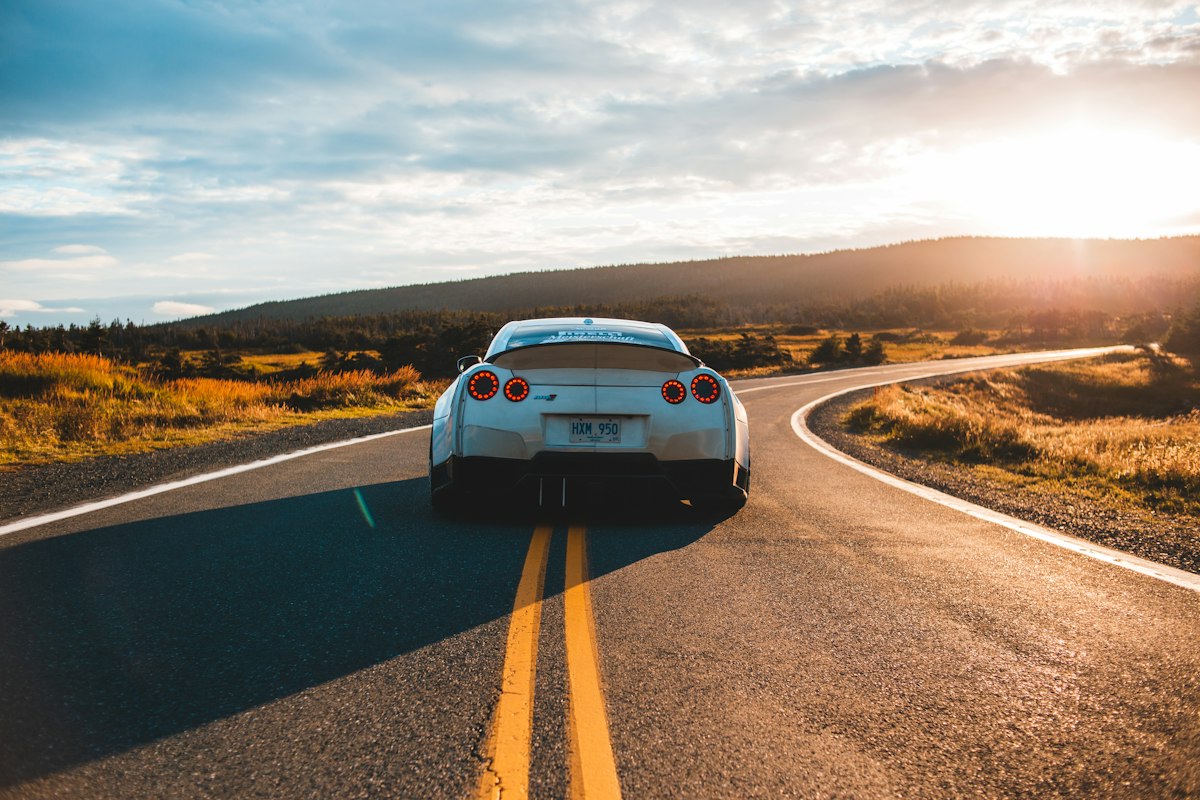
Watch the full process
Full wrap walkthrough. Credit: original creator on YouTube.
Step 1: Inspection & consultation
Before anything touches the car, the installer inspects the paint. Existing scratches, rust, dents, and chipped paint all affect how the wrap goes on — and whether it'll stick at all. The client picks a finish, and the shop confirms the vehicle's condition is wrap-ready.
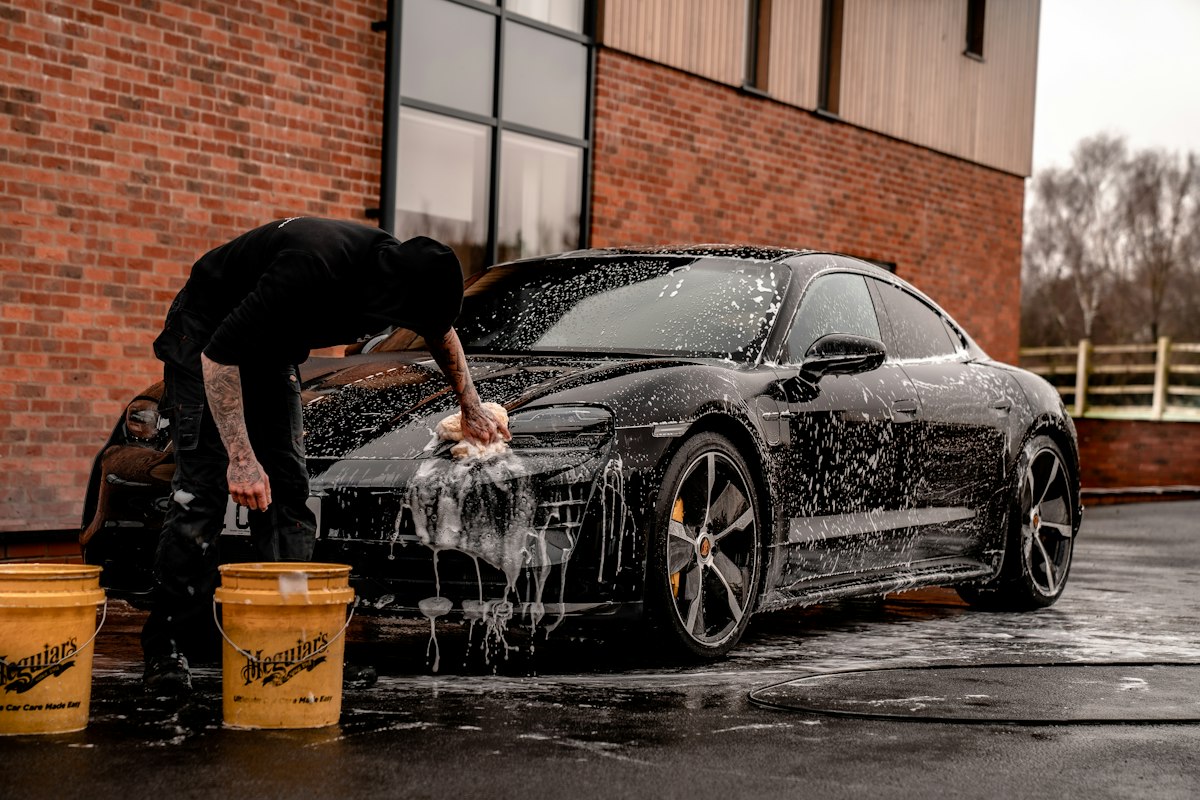
Step 2: Deep cleaning & decontamination
This is the single most important step, and the one beginners rush. The entire vehicle is washed, clay-barred to remove embedded contaminants, and wiped down with isopropyl alcohol. Any wax, grease, or residue left behind means the vinyl bonds to the contaminant instead of the paint — and lifts within weeks.
Step 3: Disassembly
Professionals remove badges, door handles, light housings, and trim wherever possible. This lets the vinyl wrap cleanly around and under edges instead of being cut around obstacles. It's the difference between a factory-looking result and an obvious amateur job.
Step 4: Measuring & planning the panels
The installer measures each panel and plans how the film will be cut and laid. Directional finishes like carbon fiber or color-shift have to run the same way across the whole car, which affects how much material is needed. Getting this wrong means running short mid-job or visible mismatches.
Free tool
Planning a wrap? Estimate the vinyl first.
Our free Vinyl Material Estimator calculates linear meters by panel with the right waste factor for your finish. Know exactly how much film to order before you start.
Open material estimatorStep 5: The install
This is the part everyone pictures. The film is laid onto each panel, squeegeed to push out air, and worked around curves with heat. Large panels like roofs and hoods often need two installers working together. Tight areas — mirrors, bumpers, recesses — are the slowest and most skill-intensive parts.
Step 6: Post-heating
Every stretched area and edge is heated to its activation temperature so the vinyl "forgets" its original flat shape and stays put. Skip this and the film slowly pulls back over the following days — the number one cause of edges lifting on a fresh wrap.
Step 7: Reassembly & quality check
Trim, badges, and handles go back on. The installer does a final inspection in good lighting, checking for bubbles, lifted edges, and missed spots. Good shops let the car sit for a 24-hour quality check before handing it back, catching any issues before the client ever sees them.
How long does the whole thing take?
A full wrap is typically 2-5 days end to end — not the few hours that timelapse videos suggest. Prep alone can take most of a day. The install is 20-35 hours of skilled work, plus disassembly, post-heat, and reassembly on top.
Free tool
Estimate a full job timeline
Our free Job Timeline Estimator breaks any wrap into phases and gives you a realistic completion date based on your crew size. Plan it before the car arrives.
Open timeline estimatorBottom line
A professional wrap is far more than "sticking vinyl on a car." It's prep, planning, skilled install, and finishing — each stage affecting whether the wrap looks factory-fresh and lasts years, or bubbles and peels in weeks.
Now you know what you're paying for when you see a wrap quote — and why the cheapest option that skips prep and post-heat is rarely the best deal.